Showing posts with label recipes. Show all posts

Tuesday, May 31, 2011

granola costs HOW much?

Shopping this week led me past a display stand of "artisanal" breads and granolas. The price breakdown showed that the cost of granola was almost $6 a pound. HOW much?! No, it did not make its way into my shopping basket. Neither did our usual big brand name standby.

When I got home, I broke out the granola recipe I found several years ago in a magazine. I immediately remembered why I hadn't made a second batch. It called for 3 or 4 different kinds of grains and other hard-to-find ingredients, and a dazzling assortment of nuts and dried fruits. I remember paying handsomely for assembling all those ingredients the first time, and the resulting granola wasn't really all that good. We went back to buying the standard Quaker granola which Sam's Club had obligingly started carrying in large sizes. That worked out fine for a couple of years. Recently, however, Sam's switched to carrying the fruity/nutty "improved" version of Quaker granola, with dried apples that taste like cardboard. . . .

OK. Time to revisit home-made granola. I threw out all the old stale ingredients I found in the back of the pantry and did some research on granola recipes. Here's what I ended up with, and believe it or not, I had all the ingredients already on hand! 2 cups rolled oats (not instant)
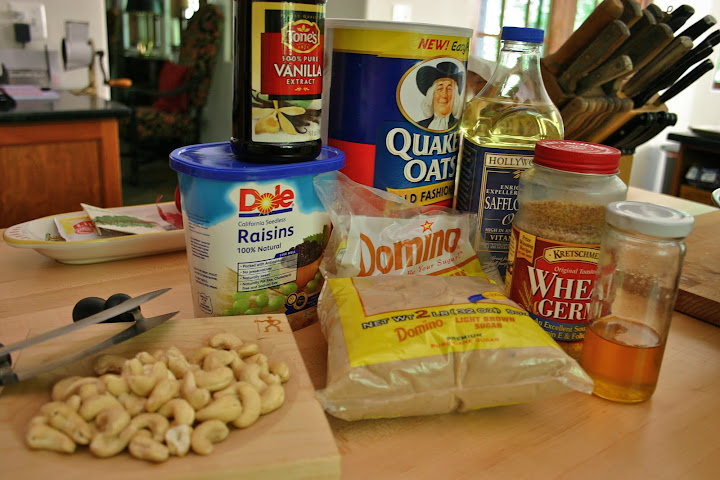
1 cup raw cashews (others use almonds, peanuts, sesame seeds, sunflower seeds – experiment!)
½ cup coconut
¼ cup wheat germ
½ to 1 cup raisins (or combination of other dried fruits – apricots, dates, craisins, dried pineapple)
scant ¼ cup good cooking oil (not olive) (you could substitute butter – ¼ cup is a half stick – but must be more careful with storage so the butter won’t go rancid. . . )
½ cup honey – or brown sugar – or combination of both
(and the best combination is ½ cup honey and ½ cup brown sugar. I know; I know!)
dash of vanilla

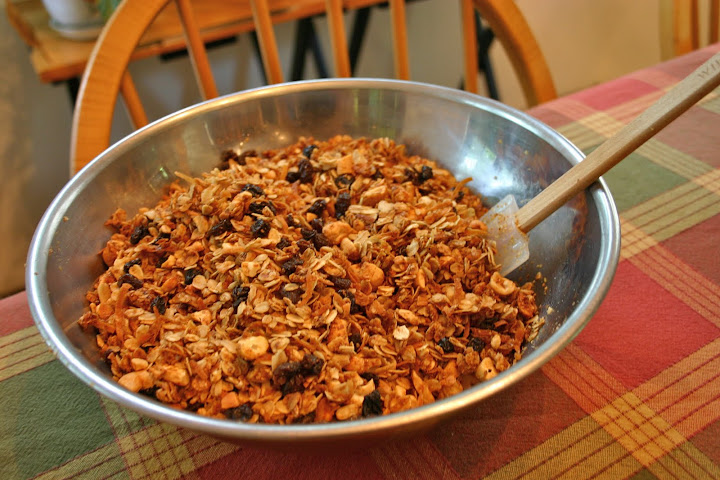
Mix the oats, nuts and grains in a large bowl. Measure oil into the measuring cup (oil first, then honey) and then measure the honey into the same unwashed cup - the oil slides the honey out! Dash in some vanilla and toss everything together until evenly coated (Note that the dried fruit will be added after baking). At this point, you will be questioning your decision to make the granola, which looks pretty bland, dry and highly uninteresting. Stay with me. It gets better. Spread onto a baking pan lined with parchment paper or foil. It's best to use something with a bit of a lip to it, so you don’t make a mess when you’re stirring the granola during baking. I use half sheets, as you see.
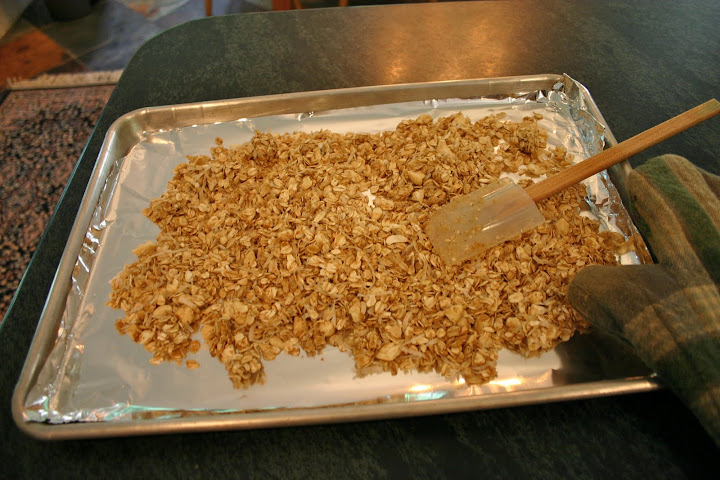
Bake at 300 degrees for 30 minutes (or more), turning it with a spatula every ten minutes or so. Things start smelling really good about 20 minutes in. You want everything to be an even golden brown, so don't take it out the minute it starts smelling good! Watch carefully the last few minutes, as it will start to brown rapidly.
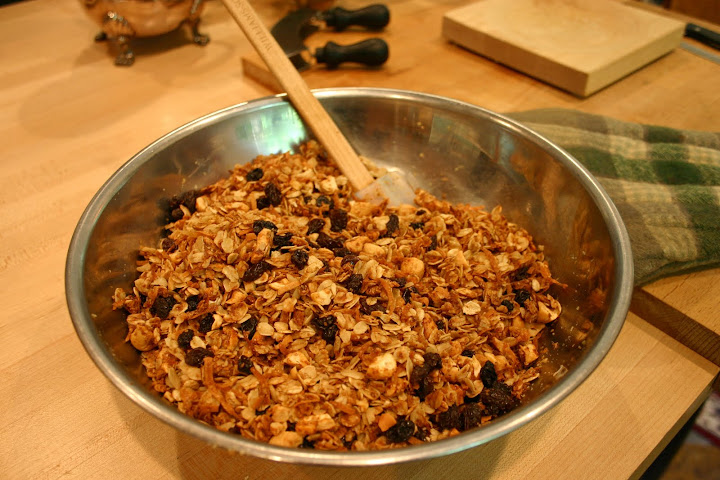
When it is finished cooking, return the baked granola to the mixing bowl, add your raisins or other dried fruit and stir to combine. Stir gently several times more as it cools, so it won’t clump together too much.

This stuff is good. Better than anything I've gotten at the store - and SO easy to make! I make it in double batches now.

Here's a printable recipe. What variations will you make?

Wednesday, February 2, 2011

What is it?!

The queen-mum is back from her latest foray, this time to foreign southern climes of the Puerto Rican persuasion. She sent this photo, which I thought bordered on mean. But as I loved looking at it anyway, how mean could it be? So pretty. . . . and yes, we were also invited. . . .

Anyway, she came back with her usual largesse from the local markets. Knorr makes instant garlic cubes! [who knew?!] But apparently they sell them only to Spanish speaking countries. That's ok. I like my garlic in garlic paper. You know, the regular papery garlic cloves in the original, natural package. I have a whole ritual I go through, selecting and preparing them. Somehow it wouldn't be the same to take a little cube out of a box, no matter how cute the box!

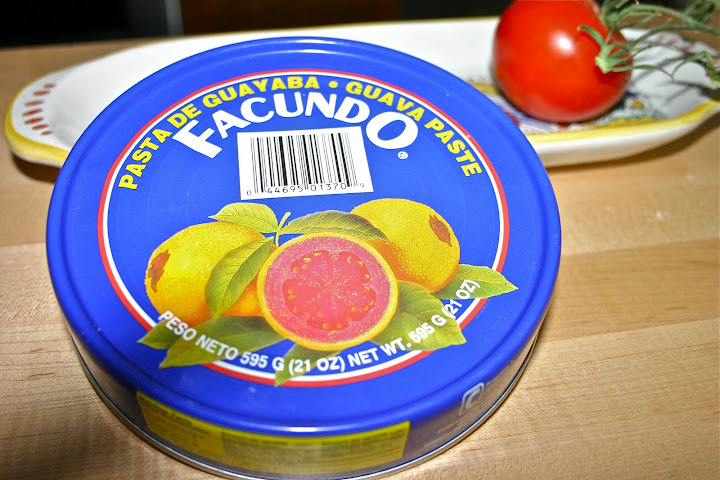
Speaking of packaging, this - um - can - stopped me in my tracks. It's enormous! Probably 6 or 7 inches across, and very colourful, as you see. A tuna can on steroids.

Facundo, Pasta de Guayaba. Thankfully, the translation is right next to it: "Guava Paste."

Guava paste? Why would anyone want guava paste?!

It turns out that this is a very popular item in Puerto Rico. They eat it with cheese and for dessert. It's apparently very sweet. They use it as the filling to stick two little cookies together. Further research shows endless cake, pie, pastry and empanada variations, but also pork and chicken options!

Here's a recipe from Bon Appetit for a Guava-stuffed Chicken with caramelized mango and here a Food & Wine recipe for guava-glazed pork tenderloin with cilantro jalapeno salsa.

And how about this as a dipping sauce for Pinchos de Cerdo - Skewered Pork?

1 cup guava paste (about 12 ounces)
1/2 cup beef broth
2 tablespoons fresh lime juice
2 tablespoons dark rum
salt and other herbs to taste. . . . (combine in small saucepan and heat through, stirring)

I also came across one Anger Burger, who wrote an amusing and in-depth study of the stuff, with lovely pictures. I warn you, Anger Burger's language is. . . . "angry". For those of you squeamish about the odd expletive not deleted, do not go there. For those of you who wish to see what Anger Burger did with his [her?] guava paste resulting in what she says was the best *&^)$%@@ pastry ever, click on this link: "guava paste, you shut up!".

Peaches were involved.

But I'm thinking that dipping sauce, on a seared pork tenderloin. . . . .

Meanwhile, the can looks pretty in the kitchen.

Tuesday, November 30, 2010

Les Herbes du Bois Vert

The full 2010 herb crop is (and has been) in.

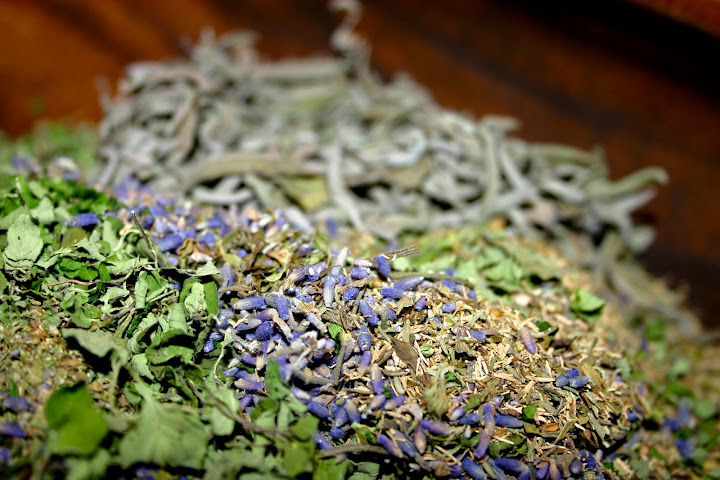
I consulted my notes on the "recipe" for les herbes du bois vert - the greenwood version of herbes de provence - and remembered that it was generally a quarter rosemary, a quarter thyme, a quarter savory and a quarter of whatever else there was (including lavender, tarragon, sage, etc.)

Oh, and I've also consulted with a scholar in Paris, and she advises that the correct phrase would be les herbes du bois vert. So I guess it's not what I'd come up with - herbes de le bois vert - which I'm sure is atrocious grammar, but which had a nice ring to it! I was a little too proud to suggest same to my scholarly source. . . .

This year, what I ended up with (herb-wise) was:

Rosemary ( 3/4 oz. I know there are bags more of it, but where?!)
Savory (1/4 oz. - supplemented with 1 oz. of 'boughten' savory from the local market, my savory languished in the extreme heat this summer)
Thyme (2 1/2 oz.)
Oregano (3/4 oz.)
Basil (1 1/4 oz.)
Sage (1 1/2 oz.)
Lavender (1/2 oz.)
Tarragon and Parsley (trace amounts - less than 1/4 oz. each)

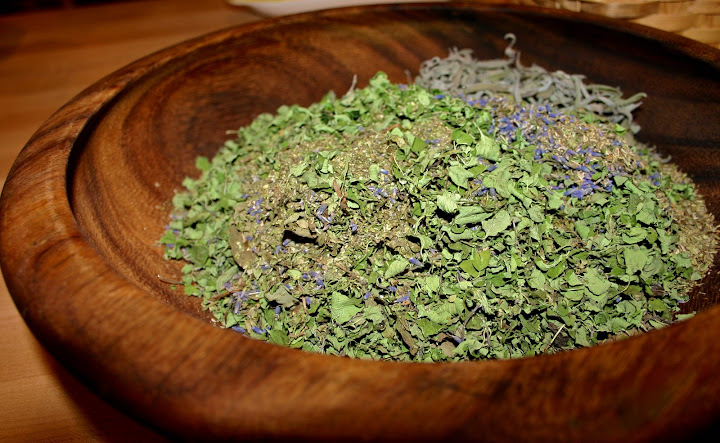
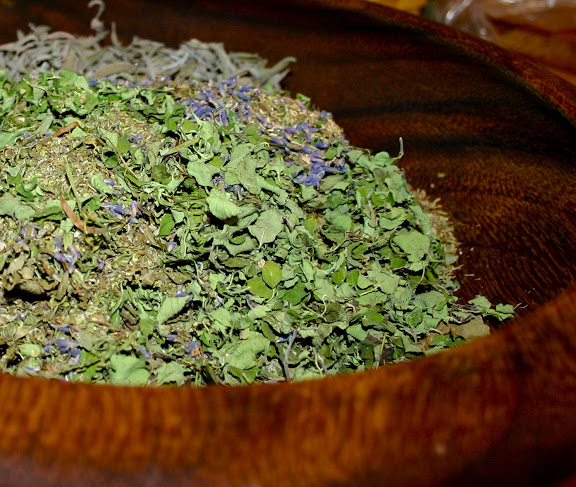
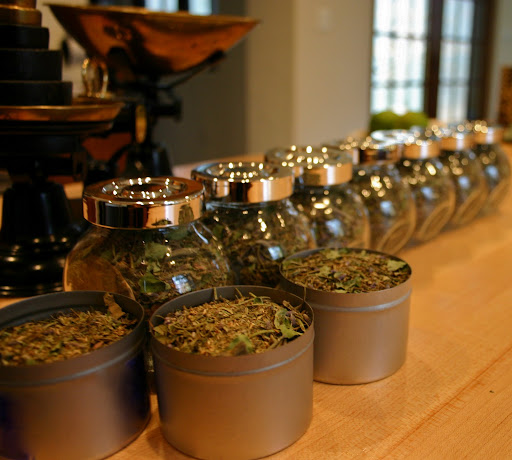
I started out doing the math and ended up just throwing everything into the big wooden salad bowl. It's what there was, this year, so that's what's going in! All but the sage. I'm not crazy about a heavy sage flavor, so I only put a handful of sage in. Here's a close up, and you can still see the sage leaves at the very top. Blended and put into containers, I ended up with more than enough to share and last me through the winter and to the next herb crop! Les Herbes du Bois Vert, 2010.

Finis.
(and that's French for "done!" I think. . . .)

Thursday, August 19, 2010

fall slaw

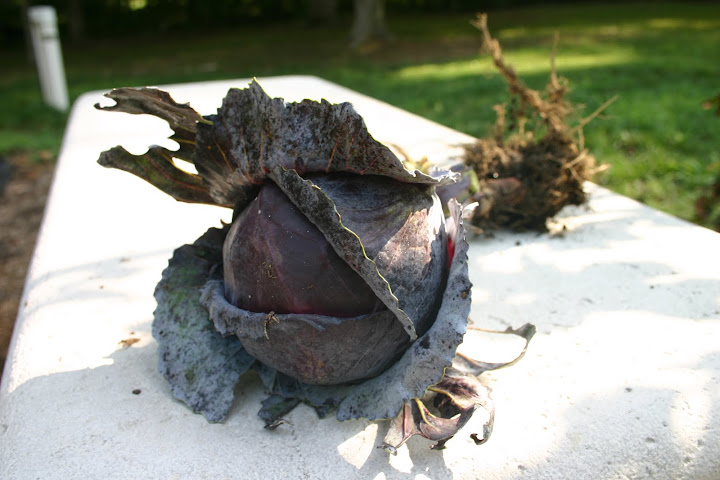
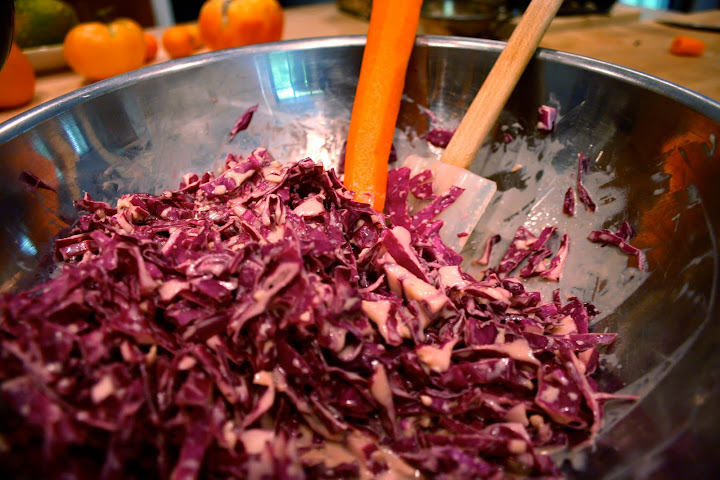
I harvested the first red cabbage. After the lessons learned from eggplants and cucumbers, I began to worry that leaving the cabbage in the ground all summer might not result in a larger head of cabbage, it might just result in a tougher head of cabbage! My fears were not ill-founded. I was not able to cut the cabbage off its cabbage stalk with my garden shears, but had to pull the whole thing out of the ground. It reminded me of the plant in Little Shop of Horrors. You see the resemblance, I'm sure!

It also reminded me of certain old-fashioned so-called cabbage roses. I've always loved that rose form.

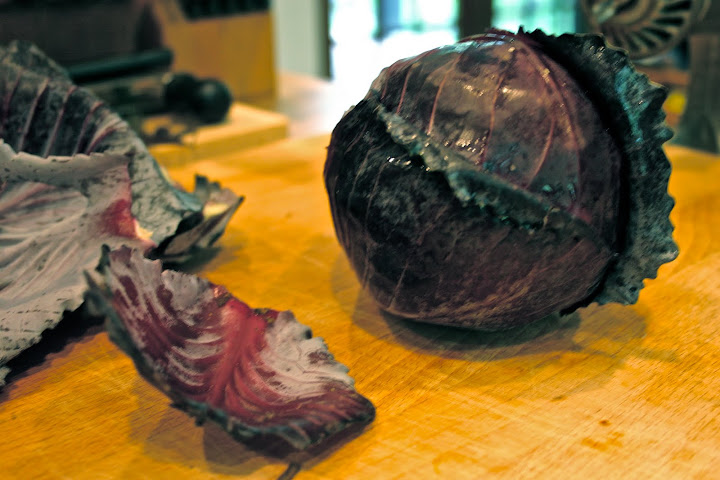
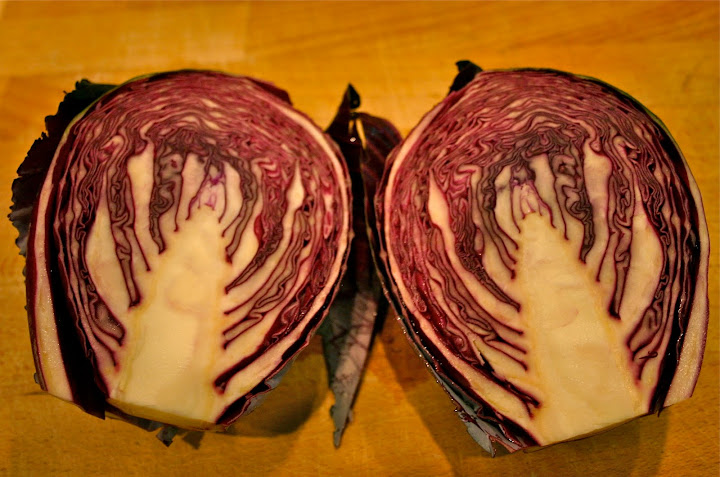
Anyway, one cabbage was out of the ground, tattered outside leaves removed and the stalk sawed off with a big, serrated knife. The moment of truth was at hand. I picked up my sharpest chef knife and prepared to cut the cabbage head in half. My first impression was of a wonderful peppery aroma. I've never smelled anything quite that strong or lovely from a cabbage I've bought in a store. I only hoped that it was not because the cabbage was past-eating; over-ripe! My second impression was of delight in the precise form on the inside. I would love a stamped impression of this, on paper. Actually, I think I've seen a wonderful woodcut of something similar, along the lines of Albrecht Dürer.

I chopped and tasted. The cabbage is not the tenderest I've ever tasted, but it had a wonderful flavor. When combined with a mustard ginger dressing, it was delicious! This, by the way, is one of the most flavorful slaw dressings I've ever tasted. You can combine the cabbage with grated carrot and/or granny smith apples and it is even better. It had a lovely taste of Fall - and the promise of cool weather and harvest. . . .

Here's the recipe for Fall Slaw:

1/4 cup vinegar (red wine or cider)
1/4 cup sour cream
2 tablespoons sugar
2 tablespoons grated ginger root
2 tablespoons Dijon mustard (if you also have coarse whole-grain mustard, do half regular Dijon and half whole-grain)
2 teaspoons mayo
2 teaspoons soy sauce
1 teaspoon Worcstershire sauce
1 teaspoon celery seed
freshly ground pepper

Whisk it all together, and then whisk in just a bit of good olive oil at the very end (2 to 3 tablespoons, say). Pour the oil in slowly as you whisk, so it will emulsify. Stir in the slaw. It's even better the next day.

Friday, July 23, 2010

the cucumber remedy: a vichyssoise!


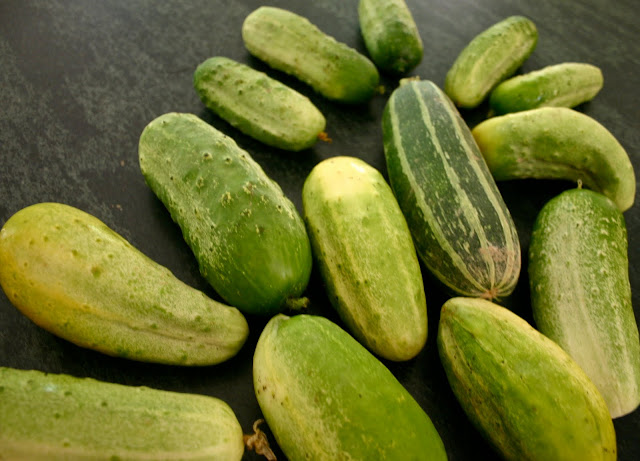
What to do with a surplus of cucumbers? A friend suggested a cold cucumber soup [?!] and gave a general idea of the recipe. I'd never heard of it. It sounded wierd! But the more I thought of it - in 100 degree plus temperatures - the better it sounded.

This is a somewhat different version I ended up coming up with, which was delicious! Here's the recipe: Cucumber garlic chive vichyssoise

Really, I can't tell you how good this is. Even the king - who initially was not inclined to be a fan - enjoyed it. In fact, I am instructed that the soup is to be preferred over what was to be my next project: Pickles!

Luckily, there promises to be a surfeit of cucumbers - so perhaps I can make both before the end of the growing season.

P.S. - in the recipe, I neglected to note that the potatoes should be peeled and cubed. Please so note!

Friday, June 25, 2010

greenwood black beans and rice

We went to the Boordy Vineyard last week for an evening picnic. Several people asked for my black bean and rice recipe, so I thought I'd post what I recall of that batch, here. No two batches are ever alike, you see! For one, our friend Jess doesn't like mushrooms(?!), and because we love Jess, I made this batch without them. (Normally, sliced mushrooms would go in with the onions and ground meat.) Still, this batch was particularly good. . . .

1 lb ground pork
olive oil
1 large Vidalia onion chopped fine
1 or 2 cans of black beans
- (I used one jumbo can – not sure if that’s 2 cans or not)
3 or 4 carrots chopped fine
- (primarily for colour so measure accordingly)
Knorr’s beef bouillon cubes
- (enough for 6 cups of water – so 3 large cubes)
3 cups rice
- (I used 1.5 cups “Royal Blend” wild rice blend and 1.5 cups basmati rice)
red pepper flakes (to taste - don't be shy!)
whatever other herbs tickle your fancy
– I used [probably – who remembers?!] celery seed, cumin, rosemary and savory – and chopped parsley to mix with the onion to add later as a garnish, on top)

In a large heavy pot (suitable also for cooking rice – so with a good, tight lid), pour in olive oil, add half of the chopped onion (the rest will be reserved for garnish) and cook over medium heat. Add in the ground pork and brown and cook. When the onions have softened a bit and the pork is browned and crumbled, add in the bouillon cubes, and mash them to mix with the olive oil, onion and meat. They mash easily, as they are heated.

Stir in the rice, and stir to coat. Keep the heat at medium to medium high, and drain the bean juice into a measuring cup, counting it toward the 6 cups of water you will need to add to the rice. Pour in the bean juice and then add the balance of 6 cups in water, stirring it all up, to make sure the beef bouillon is mixed through. Add maybe a half cup of the beans (you’ll add the rest when the rice is cooked). Add your carrots, herbs and red pepper flakes and turn up the heat, stirring often so the rice doesn’t scorch, until the mixture comes to a boil. You want to get it to a boil as quickly as possible.

As soon as it comes to a boil, turn down the heat – for me, I turn it down as low as my medium gas burner will go – cover with tight lid, and let it simmer for 20 minutes. Don’t lift the lid or do anything to it for that 20 minutes – this is a bit of a faith element, as you have to trust the heat is neither too low (it won’t cook) or too high (it will scorch. . . .) . Pretty much cook the rice the way you usually cook normal rice, though, and you should be ok.

After 20 minutes, take pot off heat and let it sit – still covered – for another 5 to 10 minutes. No peeking!

Now for the moment of truth: lift the lid, and fluff the rice with a big fork. [and hope it’s neither undercooked or overcooked!] Stir in the black beans, and adjust seasonings if necessary.

Serve with sour cream and the chopped onion/parsley mixture (into which I also pour a bit of good olive oil).

Sorry, no pictures of either the dish or our outing. It was a beautiful setting. . . . Fireflies among the trees.